It seems to me that this is becoming a trend ...
Once again I cannot credit that it has been 3 months since I posted on my Mariner's Compass.
I have been thoroughly enjoying making this quilt -
So - Where am I up to?
Chapter 1 -
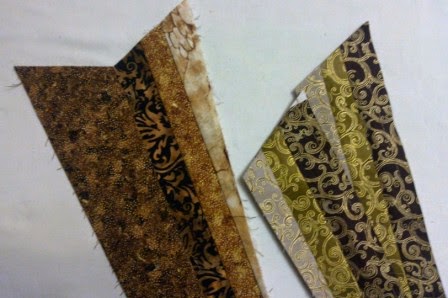
Spokes.
These are the Compass Points and the feature of the quilt's design so it was important to get these right. The initial choice of fabric didn't quite sit with the 'feel' that I am wanting to achieve for the quilt.
So - I made them again!
Chapter 2 - Compass Flower.
These pieces fit between the Spokes forming the first ring of the Compass.
They went together easily and I am very happy with my decision to fussy-cut the central Burgundy spear.
Chapter 3 - Feathered Star.
This is another block that my original choice of fabric and colour didn't sit well on.
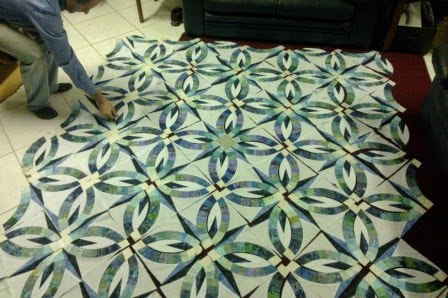
As you can see, these pieces lock the design together. I decided to hold off on making these until I was sure of my colour combination - so these will be the next section to make.
Chapter 4 - Sails.
Another Imposing feature!
These will loop their way around the outside of the Compass, locking the spokes in place.
The Foundation Paper Piecing method of making this quilt gives perfect points, and these blocks went together beautifully, with the exception of the last piece where the fabric could have been a little wider to comfortably accommodate the point of the sail.
Chapter 5 - Compass Rose.
The Central HUB of the Compass.
This beautiful star went together in a day!
The first pieces I can actually place together as they will be in the finished quilt. I am very pleased with my choice of the exquisite marbled fabric from the Stonehenge Range from Northcott.
Looking forward to next month's installment.
In the meantime - I have enough scraps to 'stuff a cushion' with!
Some are just rubbish and some are very usable pieces - especially for applique.
So for now it will be trying to determine which is which!